Stealth Cam Manual: A Comprehensive Guide (Updated 04/21/2026)
Today’s date is 04/21/2026 at 13:40:17 (). This guide details setup, operation, and troubleshooting for various Stealth Cam models, ensuring optimal wildlife observation.
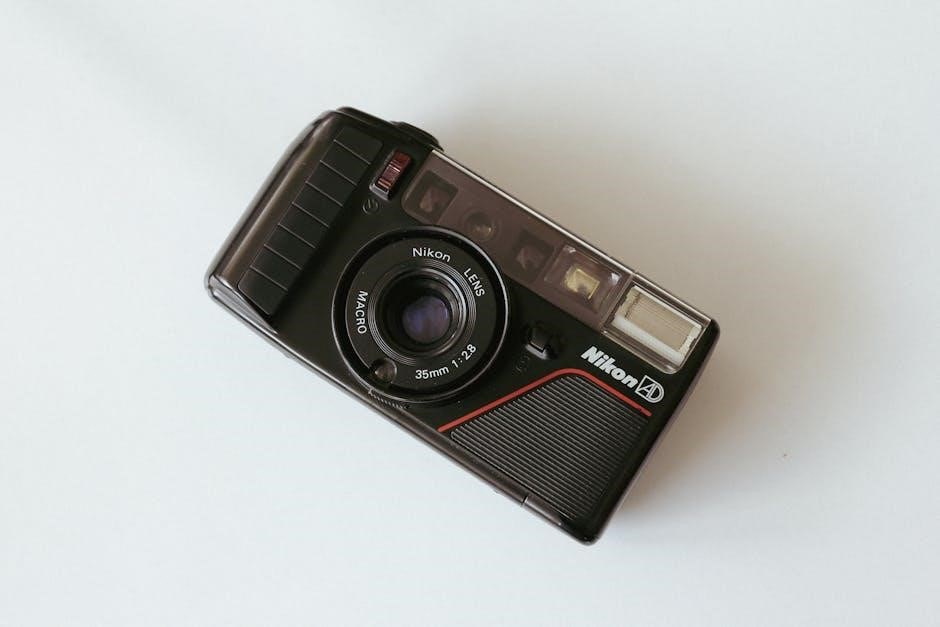
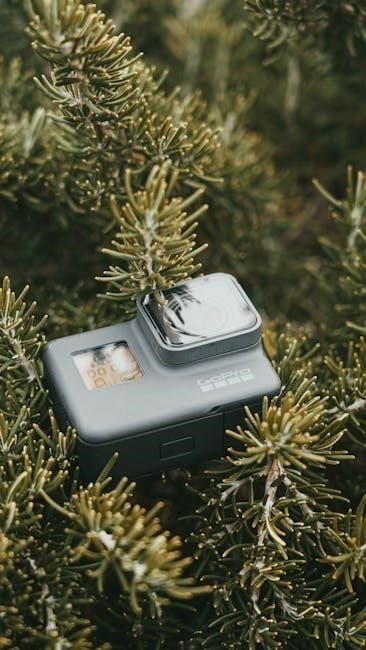
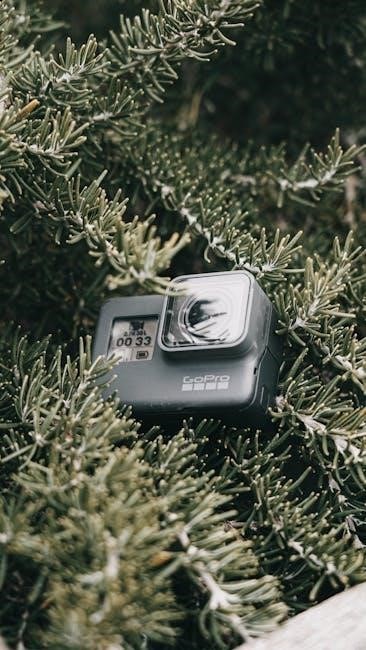
Stealth Cam represents a significant advancement in remote wildlife monitoring, utilizing cutting-edge digital imaging and sensor technology. These cameras are designed for unobtrusive observation, capturing photos and videos of animals in their natural habitat without disturbance. The core technology revolves around a Passive Infrared (PIR) sensor, detecting motion and triggering the camera to record.
Modern Stealth Cam models, like the Fusion Cellular series, integrate cellular connectivity – specifically Verizon networks – enabling remote image and video access via the Stealth Cam COMMAND PRO app; This allows users to monitor activity from anywhere with cellular service. Understanding the basics of battery installation, memory card compatibility, and initial setup, as outlined in user manuals, is crucial for successful operation. Furthermore, features like digital zoom and computer monitor review enhance the user experience.
Understanding Stealth Cam Models
Stealth Cam offers a diverse range of trail cameras catering to various needs and budgets. Models like the Fusion X boast 26MP photo resolution and 1080p video capabilities, providing high-quality imagery. The Fusion Cellular series, utilizing Verizon connectivity, allows for instant image transmission via the COMMAND PRO app.
Simpler models, such as the STC-U735IR, focus on core functionality – reliable image capture and motion detection. Key distinctions lie in features like image resolution, video quality, trigger speed, recovery time, and cellular capabilities. Understanding these differences is vital when selecting a camera. User manuals, like the STC-AD3 guide, detail specific features and setup procedures for each model, ensuring optimal performance in the field.
Essential Components of a Stealth Cam Kit
A standard Stealth Cam kit typically includes the camera unit itself, a battery compartment designed for AA batteries, and a memory card (often SD card) slot for image and video storage. Crucially, a mounting strap is provided, often with a nut and washer for secure attachment.
The STC-AD3 manual highlights the importance of these straps for stable camera placement. For Fusion Cellular models, the kit may also include an antenna for improved cellular signal reception. While some kits include batteries and memory cards, these are frequently sold separately. Familiarizing yourself with each component before setup is essential for a smooth user experience.
Setting Up Your Stealth Cam
Proper setup involves battery and memory card installation, followed by initial camera configuration using the COMMAND PRO app for optimal performance.
Battery Installation and Management
Ensuring proper battery installation is crucial for Stealth Cam operation. Open the battery compartment, typically located with a latch, and insert the required number of batteries – often AA or AAA – observing correct polarity as indicated. Utilize high-quality batteries, preferably lithium, for extended performance, especially in colder temperatures.
Regularly check battery levels through the camera’s interface or the Stealth Cam COMMAND PRO app. Consider using a battery pack for prolonged deployments. Remove batteries for extended storage to prevent corrosion and potential damage. Avoid mixing old and new batteries, or different battery types, as this can reduce overall efficiency and lifespan. Proper battery management maximizes field life and reliable operation.
Memory Card Installation and Compatibility
Proper memory card installation is essential for image and video storage. Locate the SD card slot, usually protected by a cover, and gently insert a compatible SD card – Stealth Cams generally support SDHC and SDXC cards up to a specified capacity (check your model’s specifications). Ensure the card clicks securely into place.
Verify compatibility before purchase; using an unsupported card can cause errors. Format the card within the camera for optimal performance, avoiding formatting on a computer. Regularly back up images and videos to prevent data loss. A corrupted or full card can halt camera operation, so monitor storage capacity via the COMMAND PRO app.
Initial Camera Setup & Quick Start Guide
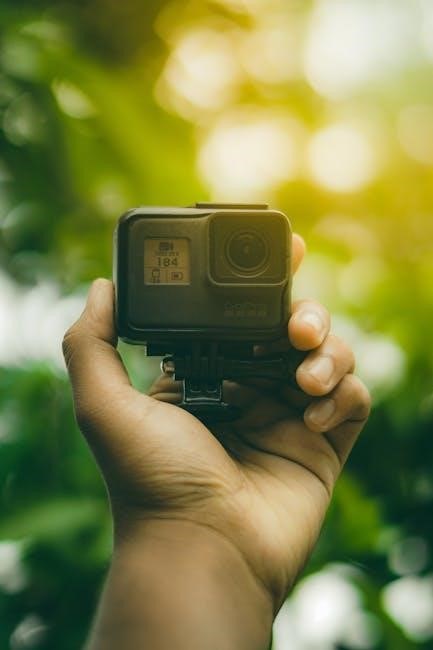
Begin by installing batteries and a compatible SD card (refer to dedicated sections for detailed instructions). Power on the camera; the display will guide you through initial settings. Set the correct date and time – crucial for accurate image timestamps. Familiarize yourself with the menu navigation using the control buttons.
Download the Stealth Cam COMMAND PRO app to your iOS or Android device and create an account. This app facilitates remote camera control and data management. Follow the in-app instructions to pair your camera. A quick test photo confirms proper functionality. Refer to the full manual for advanced settings.
Camera Settings and Programming
Customize your Stealth Cam experience by adjusting date, time, image resolution, PIR sensitivity, trigger speed, flash brightness, and recovery time for optimal results.
Date, Time, and Location Settings
Accurate date and time stamping are crucial for organizing and analyzing your captured images and videos. Access these settings through the camera’s menu, typically navigated using the control buttons. Ensure the correct year, month, day, hour, and minute are set before deployment.
Some Stealth Cam models offer GPS functionality or allow manual location tagging. Properly setting the location helps categorize your scouting data and understand animal movement patterns. Incorrect settings can lead to misinterpretation of data, so double-check your entries. Regularly verify these settings, especially after battery changes, as some cameras may reset to default values.
Refer to your specific model’s manual for detailed instructions on accessing and modifying these settings, as the menu structure can vary.
Image Resolution and Video Quality
Selecting the appropriate image resolution and video quality impacts storage capacity and image clarity. Higher resolutions (measured in megapixels ⎯ MP) capture more detail, ideal for identifying animals at a distance, but require more memory card space. Stealth Cam models, like the Fusion X, offer up to 26MP.
Video quality is typically defined by resolution (e.g., 720p, 1080p) and frames per second (FPS). Higher FPS results in smoother video, particularly for fast-moving subjects. Consider balancing quality with storage needs. Lower settings extend recording time. Experiment to find the optimal balance for your scouting goals.
Review sample images and videos at different settings to determine the best configuration for your specific environment and desired level of detail.
PIR (Passive Infrared) Sensor Adjustment
The PIR sensor detects motion via heat signatures, triggering image or video capture. Adjusting the PIR sensitivity and coverage distance is crucial for minimizing false triggers (e.g., from swaying branches or small animals) and maximizing detection range.
Stealth Cam offers variable PIR distance settings. Lower settings reduce the detection range, ideal for close-quarters setups, while higher settings extend the range for larger areas. Carefully consider the surrounding environment when making adjustments.
Experiment with different sensitivity levels to find the optimal balance between detection range and false trigger reduction. Regularly check images to assess PIR performance and refine settings as needed.
Trigger Speed and Recovery Time Configuration
Trigger speed refers to how quickly the camera captures an image or video after detecting motion. Faster trigger speeds are essential for capturing fast-moving wildlife, preventing blurry images. Recovery time dictates how long the camera remains inactive after triggering, influencing its ability to capture subsequent events.
Balancing these settings is key. A fast trigger speed with a short recovery time maximizes capture opportunities but can consume battery life more quickly. Conversely, a slower trigger speed with a longer recovery time conserves battery power but risks missing fleeting action.
Experiment with different combinations to find the optimal settings for your specific scouting needs and environment. Consider the typical wildlife activity and battery life expectations.
Flash Settings: Brightness and Range
Flash settings significantly impact image clarity and detection range, especially in low-light conditions. Stealth Cam offers adjustable brightness levels, allowing you to optimize image quality without spooking wildlife. Higher brightness illuminates further but increases the risk of detection.
Flash range determines the maximum distance at which the flash effectively illuminates the scene. Consider the typical distances at which wildlife approaches your camera location when adjusting this setting.
Experiment with different flash settings to achieve the best balance between image quality, detection range, and minimizing disturbance to animals. Some models offer infrared (IR) flash options for covert operation.
Connectivity and Data Management
Utilize the Stealth Cam COMMAND PRO app for account creation, camera control, and efficient image/video downloading and viewing, especially for Fusion models.
Using the Stealth Cam COMMAND PRO App
The Stealth Cam COMMAND PRO app is central to managing your camera remotely. Begin by downloading it from the Google Play Store or iOS App Store onto your smartphone or tablet. Once installed, create a Stealth Cam Account – this is essential for accessing your camera’s data and settings. After signing in, the app guides you through adding your camera, typically by scanning a QR code located on the device itself or entering the camera’s serial number.
Through the app, you can adjust camera settings like date, time, and image resolution. More importantly, it allows for real-time image and video downloading, eliminating the need to physically remove the SD card. The app also provides a map view displaying the camera’s location, and enables remote control of camera functions, streamlining your scouting experience.
Creating and Managing Your Stealth Cam Account
A Stealth Cam Account is fundamental for utilizing the full potential of your cellular camera and the COMMAND PRO app. Account creation is typically initiated directly within the app itself, requiring a valid email address and a secure password. You’ll likely be prompted to provide basic information for account verification and potential customer support purposes.
Once created, you can manage your account details, including updating your email address or changing your password. Crucially, your account serves as the central hub for linking multiple Stealth Cam devices. Through the account portal, you can monitor data usage, manage subscription plans (for cellular models), and access helpful resources like FAQs and troubleshooting guides. Maintaining a secure account is vital for protecting your captured images and videos.
Downloading and Viewing Images/Videos
Accessing your captured content is streamlined through the Stealth Cam COMMAND PRO app. Once logged into your account, the app displays a chronological feed of images and videos triggered by your camera. You can easily browse through this feed, previewing content directly on your mobile device.
Downloading images and videos for storage or sharing is typically achieved via a simple tap-and-hold gesture, presenting options to save to your device’s gallery or share via email or other platforms. The app often allows for batch downloading, enabling you to retrieve multiple files simultaneously. Alternatively, some models support direct access to files via an SD card when connected to a computer monitor.
Cellular Connectivity (Fusion Models) ⸺ Verizon Setup
Establishing a cellular connection with your Stealth Cam Fusion model (Verizon) begins with downloading the Stealth Cam COMMAND PRO app and creating a Stealth Cam account. Within the app, navigate to the “Add Camera” section and select the Fusion Cellular option. You’ll be prompted to enter your Verizon SIM card’s IMEI number and activation code, typically found on the SIM packaging.
Follow the app’s guided steps to activate your data plan with Verizon and link it to your camera. Ensure adequate cellular signal strength at your camera’s location for reliable data transmission. The app provides tools to check signal strength and optimize antenna positioning for best performance;
Mounting and Placement
Secure your Stealth Cam using provided straps, wrapping them around a mounting surface. Adjust the PIR coverage distance for optimal wildlife detection, utilizing variable PIR settings.
Securing the Camera with Straps
Properly securing your Stealth Cam is crucial for preventing theft and ensuring consistent image capture. Begin by locating the strap slots on the rear housing of the camera. Thread the provided strap through these slots, ensuring a snug fit. Next, wrap the strap securely around the chosen mounting surface – a tree, post, or other stable object.
Utilize the included nut and washer to further tighten the strap to the bottom of the camera, providing additional stability. Regularly inspect the straps for wear and tear, and adjust as needed to maintain a firm hold. Consider the surrounding environment; avoid areas with excessive vegetation that could obstruct the camera’s view or interfere with the strap’s security. A well-secured camera guarantees reliable performance and peace of mind.
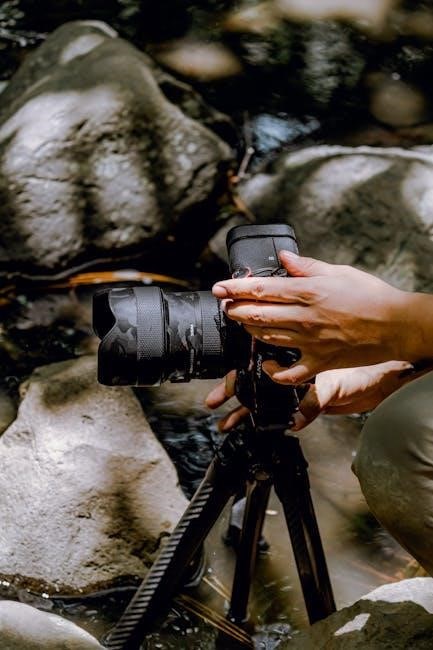
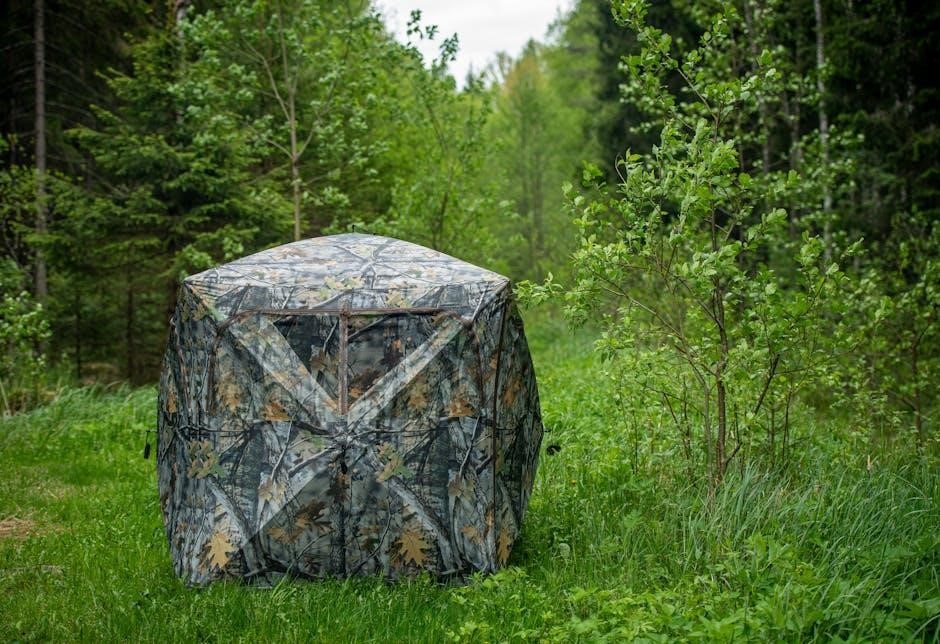
Optimal Camera Placement for Wildlife Detection
Strategic camera placement dramatically improves wildlife detection rates. Prioritize locations exhibiting animal sign – trails, rubs, scrapes, and feeding areas. Position the camera facing north or south to minimize direct sunlight exposure, which can cause washed-out images. Clear any obstructing vegetation, ensuring a clear field of view for the PIR sensor.
Adjust the PIR coverage distance to match the anticipated animal approach routes. Consider the terrain; a slight downward angle can capture more detail. Avoid mounting the camera directly facing open fields, as this can trigger false alerts from heat sources. Regularly review images to assess placement effectiveness and make adjustments as needed for optimal results.
Adjusting PIR Coverage Distance
Stealth Cam offers variable PIR distance settings, allowing customization for diverse environments. A shorter range minimizes false triggers from small movements or distant heat sources, ideal for dense foliage. Conversely, a longer range maximizes detection in open areas, capturing animals approaching from greater distances.
Access the PIR settings through the camera’s menu, typically found under “Setup” or “Detection.” Experiment with different settings, reviewing captured images to determine the optimal range for your specific location. Consider animal size and typical approach routes when making adjustments. Regularly check and refine these settings for peak performance.
Troubleshooting Common Issues
Common problems include power failures, poor image quality, connectivity issues, and SD card errors. This section provides solutions for quick diagnosis and resolution.
Camera Not Powering On
If your Stealth Cam fails to power on, begin with a thorough battery check. Ensure batteries are correctly installed, observing proper polarity (+/-). Utilize fresh, high-quality batteries; mixed old and new batteries can cause issues. Confirm the battery compartment is securely closed, as a loose connection prevents operation.
Next, inspect the battery contacts within the compartment for corrosion or debris. Clean them gently with a dry cloth if necessary. A faulty power switch is another potential culprit; attempt toggling it several times. If the camera still doesn’t respond, try a different set of known-good batteries to definitively rule out a battery-related problem. Finally, verify the SD card isn’t causing a short circuit – remove it and attempt powering on the camera.
Poor Image Quality
Suboptimal image quality often stems from several factors. First, confirm sufficient ambient light; Stealth Cams rely on infrared flash in low-light conditions. Adjust flash settings – brightness and range – to suit the environment. Ensure the camera lens is clean and free of obstructions like leaves or spiderwebs;
Image resolution settings significantly impact clarity. Higher resolutions (e.g., 26MP) yield sharper images but consume more storage space. Experiment with different resolution settings to find a balance. Check the SD card’s write speed; a slow card can cause image distortion. Finally, verify the PIR sensor isn’t triggering on false movements, leading to blurry images due to rapid capture.
Connectivity Problems (Cellular Models)
Cellular connectivity issues typically relate to signal strength or account configuration. Verify your Stealth Cam Fusion model has active service with Verizon and sufficient data allowance. Ensure the camera is positioned in an area with reliable cellular coverage; obstructions like dense trees can interfere;
Double-check your Stealth Cam account details within the COMMAND PRO app. Confirm the correct SIM card is activated and the APN settings are properly configured for Verizon. Restart the camera and your mobile device. If problems persist, contact Verizon support or Stealth Cam’s customer service for assistance with troubleshooting network connectivity;
SD Card Errors
SD card errors can prevent image and video saving. First, ensure you’re using a compatible SD card – Stealth Cam recommends specific capacities and classes (refer to your model’s specifications). Verify the card isn’t full; delete old files if necessary. Try formatting the SD card within the camera’s menu (this is preferable to formatting on a computer).
If the error persists, test with a different, known-good SD card. A corrupted card may require replacement. Avoid handling the card excessively to prevent static discharge. Ensure the card is securely inserted into the camera’s slot. Regularly back up your images and videos to prevent data loss from card failure;
Advanced Features and Tips
Explore digital zoom for closer views and utilize a computer monitor to thoroughly review captured images and videos for detailed wildlife analysis.
Digital Zoom Functionality
Stealth Cam models often include a digital zoom feature, allowing users to magnify images after they’ve been captured. It’s important to understand this isn’t optical zoom; instead, it enlarges the existing pixels, potentially reducing image clarity at higher zoom levels.
To utilize digital zoom, connect your Stealth Cam to a computer and access the images through the Stealth Cam COMMAND PRO app or directly from the SD card. Within the app or image viewer, you’ll find zoom controls. Experiment with different zoom levels to find a balance between magnification and image detail. Remember that excessive zooming can result in pixelation, so use it judiciously for identifying details without compromising overall image quality. This feature is particularly useful for reviewing footage and confirming animal identification from a distance.
Using a Computer Monitor for Review
Reviewing Stealth Cam images and videos on a computer monitor offers a significantly enhanced experience compared to the camera’s small screen. Simply remove the SD card from your Stealth Cam and insert it into an SD card reader connected to your computer.
The images and videos will then appear as files on your computer, accessible through your file explorer. Utilize the Stealth Cam COMMAND PRO app for streamlined viewing and organization, or use standard image/video viewing software. A larger monitor allows for detailed examination of footage, especially when utilizing the digital zoom functionality to identify distant wildlife. This method is ideal for managing large volumes of captured content and ensuring no detail is missed.